

The Solid Truth About Concrete Countertop Specialties and Installation
What You Need to Know About Concrete Countertop Installation
Concrete countertop installation is a multi-step process that involves planning, forming, pouring, curing, and sealing custom concrete slabs to fit your kitchen or bathroom surfaces.
Here’s a quick overview of how it works:
- Measure and template – Map your cabinet layout precisely, accounting for sink cutouts and overhangs.
- Build the formwork – Construct molds from melamine-coated board sealed with silicone caulk.
- Mix and pour – Use a high-strength concrete mix (5,000 PSI or higher) with proper reinforcement.
- Cure – Allow at least 7 days of moist curing before demolding.
- Finish and seal – Sand progressively, fill voids, then apply a food-safe sealer.
- Install – Set slabs on leveled cabinets using silicone adhesive.
Concrete countertops have moved from niche industrial spaces into mainstream kitchens and bathrooms — and it’s easy to see why. No other countertop material gives you this much control over shape, color, texture, and finish.
But the process is not as simple as it looks.
DIY material costs run $8–$25 per square foot, which sounds appealing. Professional installation runs $75–$150 per square foot — but it includes the expertise, tools, and structural knowledge that turn a heavy slab into a long-lasting surface. A typical 30-square-foot kitchen project costs $2,500–$7,000 depending on method and customization.
This guide covers everything — from accurate templating to final sealing — so you can make the right choice for your Albuquerque home.
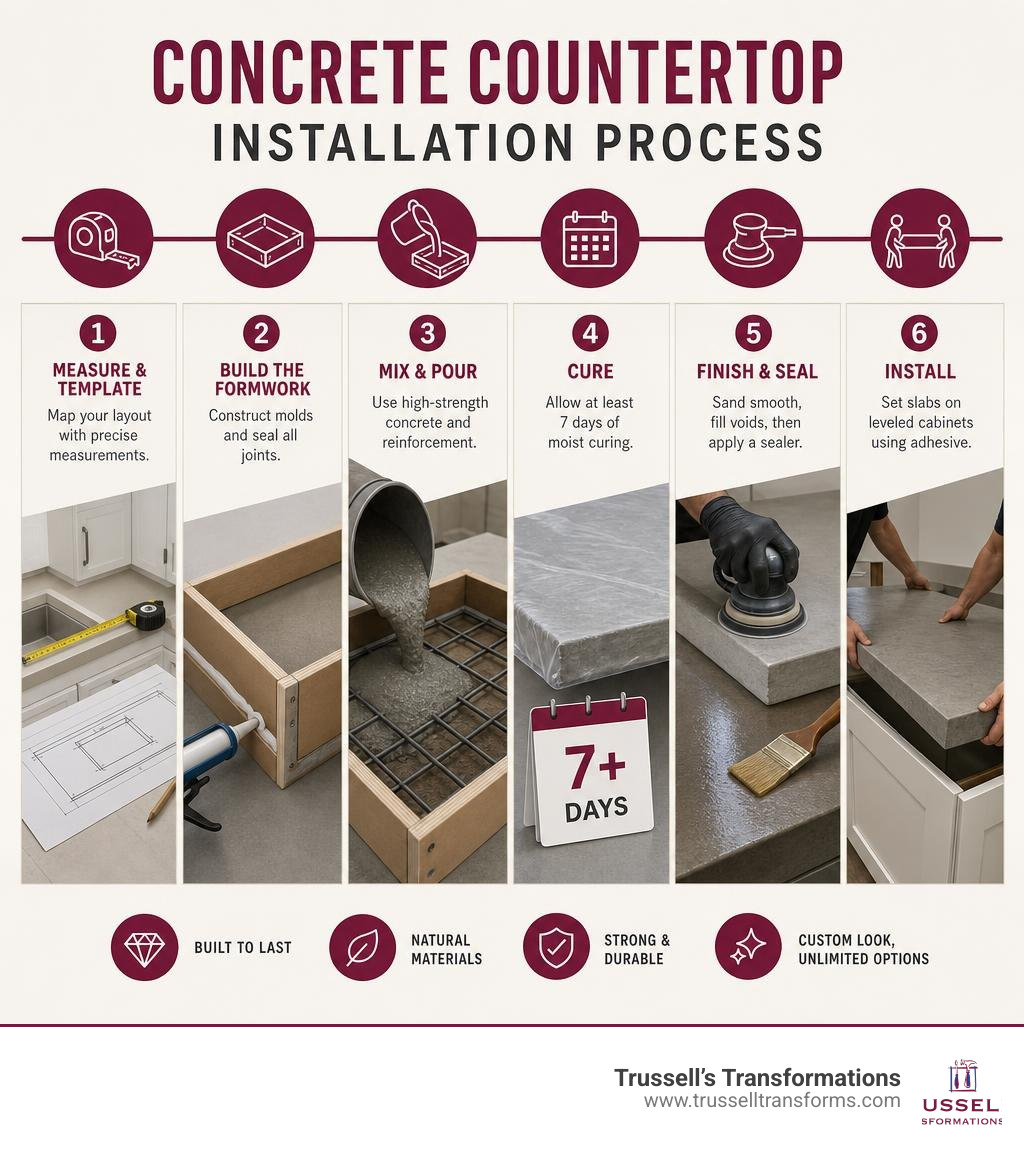
Simple guide to concrete countertop installation terms:
Planning and Templating for Concrete Countertop Installation
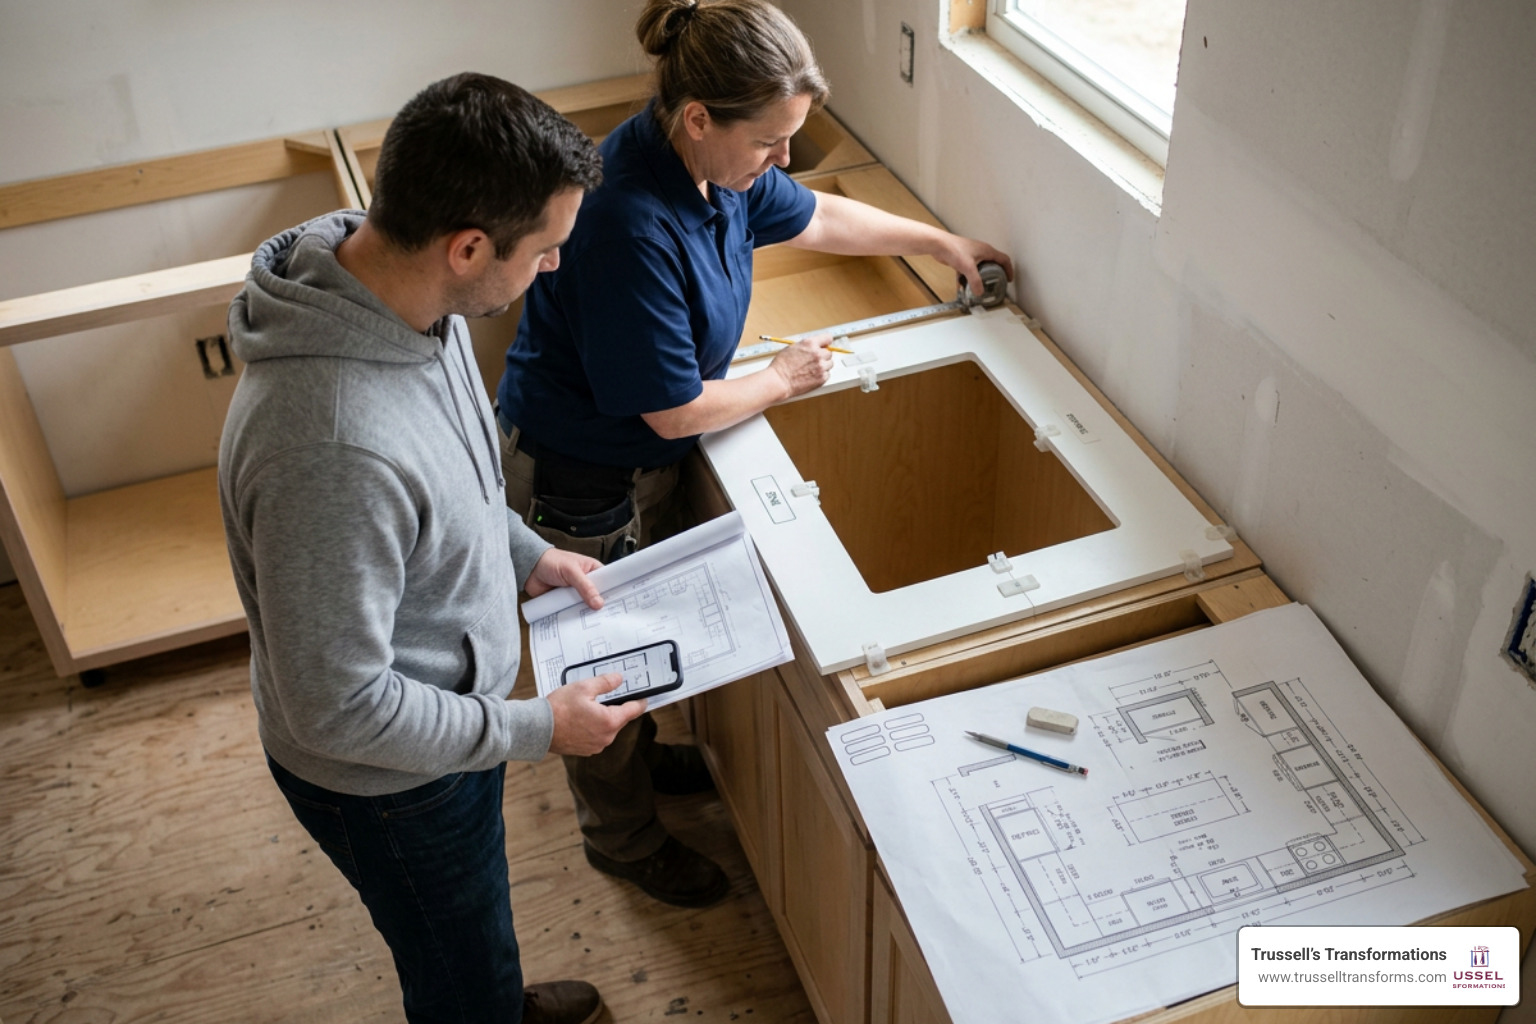
Before a single bag of cement is opened, success is decided in the planning phase. If your measurements are off by even a fraction of an inch, your heavy concrete slab simply won’t fit, and there is no “stretching” concrete once it cures.
Proper planning requires checking that your cabinets are completely level. Because concrete slabs are incredibly rigid and heavy (weighing 18 to 20 pounds per square foot at a standard 1.5-inch thickness), any unlevel cabinets can create uneven stress points. This stress can affect the alignment and stability of your installation.
Accurate Measurement and Layout Design
To capture the exact footprint of your cabinets, including any subtle wall curves or non-standard angles, we use a physical template. The most reliable way to build a template is the “door skin” method. We take thin strips of 1/8-inch wood door skins, lay them directly along the edges of your cabinets, and secure them together using a hot glue gun.
This creates a rigid, full-scale replica of your future countertop. When designing your layout, you must also decide how much of an overhang you want. A standard overhang is typically 3/4 inch to 1.5 inches past the cabinet face.
As you map out your space, it’s highly beneficial to Consider This When Choosing New Countertops for Your Kitchen to ensure your layout matches both your aesthetic and functional goals.
Handling Custom Features: Sink Cutouts and Overhangs
Custom features are where concrete truly shines, but they require meticulous engineering. For undermount sinks, we construct precise foam knockouts that match the sink’s exact dimensions. For drop-in sinks, we build a wooden frame within the mold to preserve the opening.
Faucet holes are created using rubber or plastic knockouts secured at the exact locations of your plumbing fixtures.
If your design features a dramatic bar overhang, structural support is paramount. While a standard concrete slab can handle minor overhangs, any cantilever extending past 10 to 12 inches requires integrated steel reinforcement or heavy-duty brackets.
For highly technical layouts and custom features, reviewing a Fabrication & Installation Guide can help you understand the structural limits of solid surfaces and how physical forces impact heavy kitchen slabs.
The Step-by-Step Guide to Precast and Cast-in-Place Methods
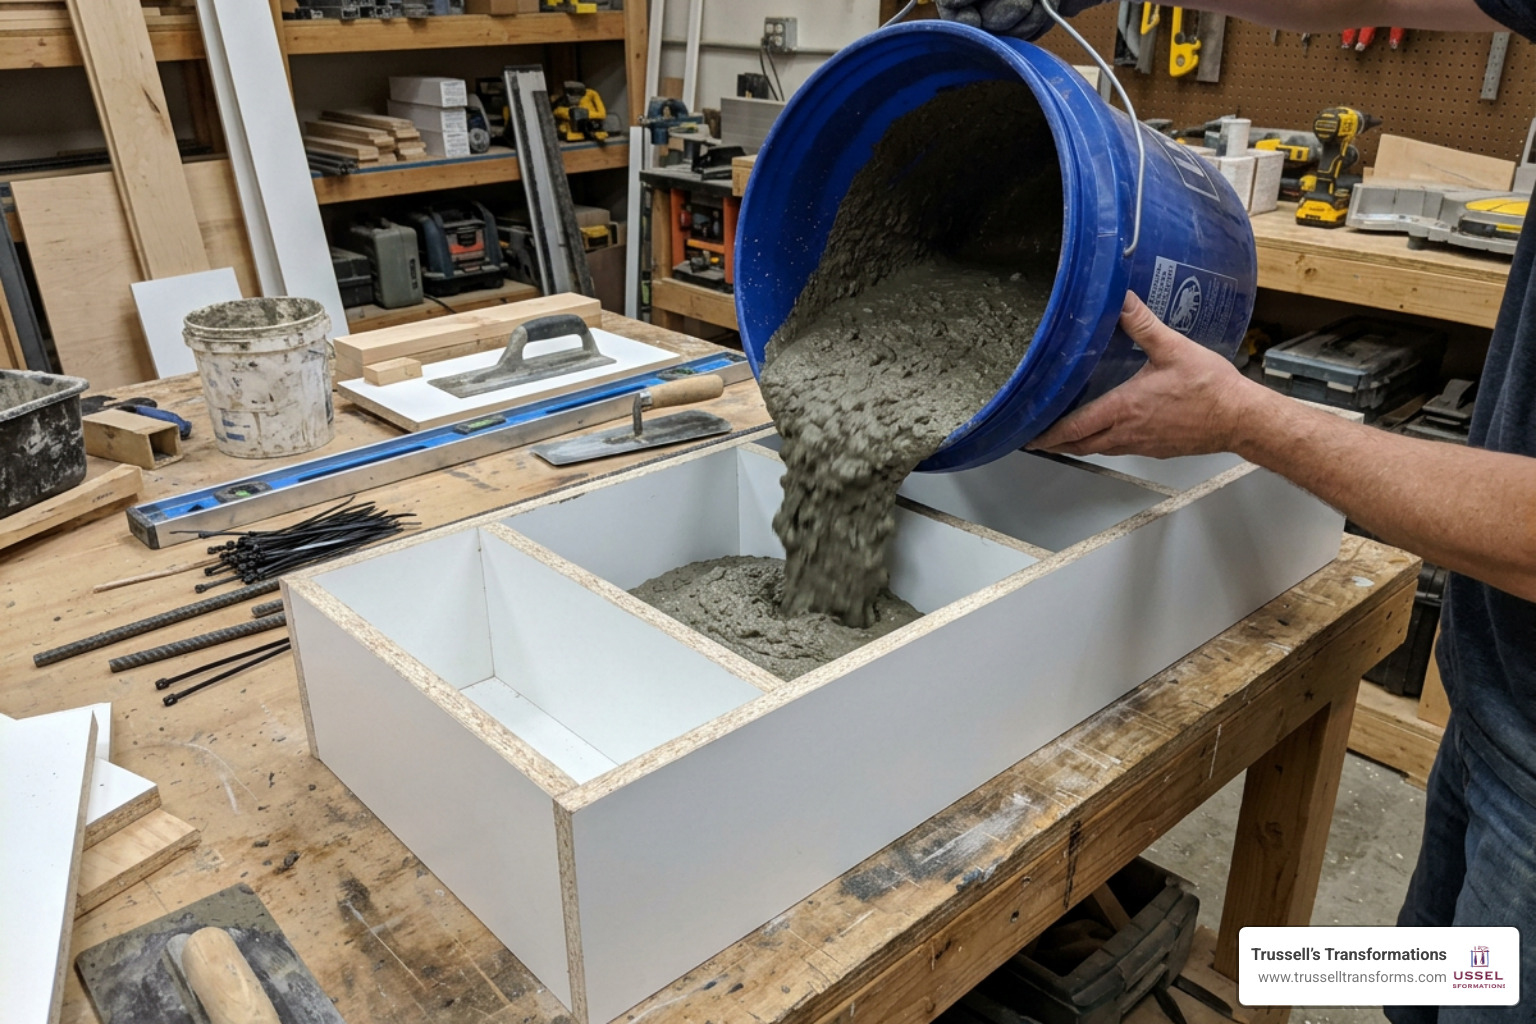
When executing a concrete countertop installation, you have two main construction paths: precast or cast-in-place.
- Precast Concrete: This method involves building the forms, pouring the concrete, and curing the slabs in a controlled environment (like a workshop or garage) before transporting the finished pieces to the kitchen. Precast allows for a highly controlled curing environment, easier air-bubble removal, and a smoother finish. However, moving 400-pound slabs into a home requires serious muscle.
- Cast-in-Place Concrete: Here, the forms are built directly on top of your kitchen cabinets, and the concrete is poured right in the room. This eliminates the need to transport heavy slabs and allows for a completely seamless, joint-free installation. The downside? It is incredibly messy, and you have less control over the curing environment.
Building and Preparing the Formwork
For precast countertops, the mold is built upside down using 3/4-inch melamine-coated particle board. Melamine is the industry standard because its ultra-smooth, non-porous surface prevents the concrete from sticking and transfers a beautiful, factory-smooth finish to the face of the slab.
To build the forms:
- Rip melamine sheets into strips that match your desired countertop thickness (usually 1.5 to 2 inches).
- Screw the side strips to the melamine base, pre-drilling to prevent the board from splitting.
- Apply a bead of 100% black silicone caulk to all inside corners. Smooth the bead with a wet finger or a specialized tool to create a perfect radius. The shape of this caulk line will define the edge profile of your finished countertop.
- Clean away any excess caulk and dust.
- Apply a thin layer of paste wax or a specialized form release agent so the cured slab releases effortlessly.
If you are pouring directly in your kitchen, you can learn more about the nuances of building forms on top of your cabinets in this Diy In-Place Concrete Countertops: Step-By-Step Installation Guide.
Mixing, Pouring, and Finishing Concrete Countertops
The concrete mix used for countertops is vastly different from standard sidewalk concrete. It must be a high-performance blend (achieving 5,000 to 10,000 PSI) with a very low water-to-cement ratio (around 0.32 to 0.40).
Adding too much water makes the concrete easy to pour but drastically reduces its ultimate strength. To make a stiff, low-water mix workable, we use a chemical additive called a superplasticizer, which temporarily liquefies the mix without adding water.
When pouring, we work in layers:
- Pour the first half of the concrete into the mold, packing it tightly into all corners.
- Vibrate the mold using an orbital sander (without sandpaper) held against the sides and bottom of the formwork, or tap the forms vigorously with a rubber mallet. This forces trapped air bubbles to rise to the surface, preventing unsightly pinholes on your finished face.
- Place your reinforcement. For traditional precast, we use structural steel re-mesh or carbon fiber grids. The reinforcement must be positioned in the bottom third of the slab (the tension zone) and kept at least 1/2 inch away from all outer edges to ensure structural integrity and a clean finish.
- Pour the second layer of concrete to fill the mold.
- Run a straight 2×4 board (screed) across the top of the formwork in a sawing motion to level the concrete flush with the edges.
To dive deeper into specific mix designs and structural engineering principles, check out this DIY Concrete Countertop – How to Make Concrete Countertops resource.
Customizing Aesthetics: Color, Texture, and Sealing
One of the greatest joys of concrete is its aesthetic versatility. It doesn’t have to look like a grey highway bridge. With the right techniques, concrete can mimic natural stone, take on vibrant colors, or showcase an industrial, polished sheen.
Adding Color, Texture, and Decorative Elements
There are three primary ways to introduce color to your concrete:
- Integral Pigments: These dry powders or liquid colorants are mixed directly into the wet concrete. Because the color goes all the way through the slab, it will never wear off.
- Acid Stains: Applied to cured concrete, acid stains chemically react with the minerals in the cement, creating beautiful, variegated color tones that mimic natural slate or marble.
- Dyes and Topical Pigments: These penetrate the surface to provide vibrant, uniform colors that are highly controllable.
You can also customize the texture. By grinding away the top “cement skin,” you can expose the sand and aggregate beneath. If you mix in decorative aggregates like colored glass, quartz, or even small seashells, grinding and polishing will reveal these beautiful embedded elements.
Additionally, the way you finish the edges of your slab plays a major role in the overall design. For a complete breakdown of your options, read our guide on Countertop Edge Profiles Explained: A Guide for Albuquerque Homeowners.
Curing, Sealing, and Long-Term Maintenance
Curing is the chemical process where cement hydrates and gains strength. Once the concrete is poured, cover it immediately with plastic sheeting to lock in moisture. Concrete must cure for at least 48 hours before you remove the forms, and it should remain in a moist, warm environment (above 55°F, ideally around 70°F) for at least 7 days to reach a safe handling strength. Full cure takes 28 days.
Because concrete is naturally porous, sealing is the single most critical step in the entire installation. Sealing protects the surface from absorbing oils, mustard, wine, and water, preserving its pristine, custom look.
We use two main types of sealers:
- Penetrating Sealers: These soak deep into the pores of the concrete, chemically bonding with the material to repel water and oil from within. They maintain the natural, matte look of the concrete.
- Topical Coatings (Epoxies or Urethanes): These form a protective plastic-like barrier on top of the surface. They offer excellent stain resistance and can provide a high-gloss finish, making them a popular choice for modern designs.
When sealing surfaces for kitchens, always ensure the products used are food-safe once fully cured. If you are considering concrete for a high-moisture environment, you might want to explore Which Countertops Look Best in Bathrooms? to see how concrete holds up against water and daily bathroom products compared to other materials.
DIY vs. Professional Concrete Countertop Installation
While concrete is an incredibly rewarding material to work with, it is also highly unforgiving. Achieving a gorgeous, modern masterpiece requires precision and the right techniques. Let’s look at how the DIY route compares to hiring a licensed professional.
| Metric | DIY Concrete | Professional Installation |
|---|---|---|
| Material Cost | $8 – $25 per sq. ft. | $75 – $150 per sq. ft. |
| Labor & Time | 40+ hours of heavy physical labor | Handled entirely by pros (usually 1-day install) |
| Required Tools | Concrete mixer, orbital sander, wet polisher, melamine forms, PPE | None (pros bring commercial-grade gear) |
| Installation Difficulty | High (requires advanced skills to achieve a level, professional finish) | Handled seamlessly by experienced pros |
| Weight Handling | You must lift and place 300+ lb slabs | Handled safely by experienced crews |
Essential Tools and Materials for DIY Projects
If you are determined to tackle this as a DIY project, you will need to invest in several specialized tools. Beyond basic safety gear (safety glasses, heavy gloves, and a high-quality respirator to protect your lungs from silica dust), your shopping list will include:
- 3/4-inch melamine sheets and high-quality wood screws
- 100% silicone caulk and a caulking gun
- A commercial-grade concrete mixer or heavy-duty mixing drill
- High-strength countertop concrete mix and structural reinforcement mesh
- An orbital sander (for vibrating forms) and a wet concrete polisher with diamond polishing pads (50 to 800 grit)
- A high-quality, food-safe concrete sealer
For a comprehensive look at the modern tools, products, and structural guidelines used in today’s projects, check out the Concrete Countertops — Complete 2026 Guide.
Common Mistakes to Avoid in DIY Concrete Countertop Installation
In our 25+ years of home renovation experience in Albuquerque and Rio Rancho, we have seen many DIY concrete projects go awry. Here are the most common pitfalls to avoid:
- Adding Too Much Water: It is tempting to make the concrete soupy so it pours easily. Don’t do it. Excessive water reduces the concrete’s strength, affecting the overall quality of the installation as it dries.
- Inadequate Air Bubble Removal: Failing to vibrate the wet concrete thoroughly leaves hundreds of tiny air pockets trapped against the melamine face. When you demold, your surface will look like Swiss cheese.
- Poor Reinforcement Placement: Placing structural steel right in the middle of the slab does nothing to prevent bending tension. Reinforcement must be placed in the bottom third of the mold.
- Rushing the Cure: Demolding concrete before it has cured for at least 48 to 72 hours can affect the slab’s strength and alignment.
If you want to explore other durable, low-stress options for your kitchen remodel, read our guide on choosing Countertops in Albuquerque, NM.
Why Professional Concrete Countertop Installation Outperforms DIY
At Trussell’s Transformations, we love a good DIY project, but concrete countertops are a massive undertaking. When you hire our licensed, bonded contractors, you get peace of mind. We bring over 25 years of local remodeling experience to your project, ensuring your cabinets are structurally reinforced to handle the immense weight, and your slabs are cast and cured to perfection.
Furthermore, if you decide that the immense weight, maintenance, and labor of concrete aren’t right for your home, we offer a gorgeous selection of premium, low-maintenance alternatives in our Albuquerque showroom. We carry industry-leading countertop brands like Caesarstone, Cambria, Silestone, and The Stone Collection, which can be beautifully paired with custom cabinets from Durasupreme Cabinetry, Waypoint Living Spaces, Sollid Cabinetry, and Kitchen Cabinet Distributors.
To see how professional concrete installation costs align with other premium stone options in the New Mexico market, take a look at The Definitive Guide to Granite Countertops Prices & Local Installers
Frequently Asked Questions about Concrete Countertops
How much do concrete countertops cost compared to granite or quartz?
Professionally installed concrete countertops typically cost between $75 and $150 per square foot. This is highly comparable to premium granite ($50 to $175 per square foot) and high-quality quartz. While DIY concrete is much cheaper in raw materials, the labor, specialized tools, and complexity of the installation process often close the value gap.
To help weigh your options, you can read our head-to-head comparison: Quartz vs Granite: What’s Better for My Countertop?.
How heavy are concrete countertops and do they require special cabinets?
Standard 1.5-inch-thick concrete countertops weigh approximately 18 to 20 pounds per square foot. A standard 8-foot slab can easily weigh over 300 pounds.
Most high-quality, modern cabinets can support this weight without issue, provided they are completely level. However, older or cheaply made cabinets may require additional internal bracing or 3/4-inch plywood sub-tops to distribute the load safely.
Are concrete countertops food safe and how often do they need sealing?
Concrete countertops are only food-safe when sealed with a high-quality, non-toxic, food-safe sealer. Unsealed concrete is highly porous and can harbor bacteria from raw meats or food spills.
Depending on the type of sealer used and how heavily the kitchen is used, you will need to reseal your concrete countertops every 1 to 3 years to maintain stain resistance and hygiene.
Conclusion
A custom concrete countertop can transform your kitchen or bathroom into a stunning, one-of-a-kind space. But achieving a flawless, durable finish requires a deep understanding of structural engineering, concrete chemistry, and precise installation techniques.
Whether you want to tackle a DIY project or sit back and let the professionals handle the heavy lifting, we are here to help. At Trussell’s Transformations, we are your local, family-owned, one-stop shop for home renovations in Albuquerque, Rio Rancho, and Bernalillo County. With over 25 years of experience, licensed contractors, and convenient 0% financing options, we can bring your dream kitchen to life.
Ready to explore your countertop options? Visit our showroom at 8023 Edith Blvd NE, Albuquerque, NM 87113, or contact us today through our Trussell’s Transformations Countertop Services page to schedule your free consultation!
Recent Comments