

Preparation: The Best Way to Install Cabinets Starts with Layout
Before a single screw enters a stud, the best way to install cabinets begins with a meticulous layout. Your kitchen walls might look flat and your floors might look level, but in cabinetry, looks are deceiving. Houses settle, and even a quarter-inch slope across a ten-foot run can result in a countertop that looks like a slide.
To start, you must find the highest point of your floor. Use a level and a straight 2×4 to find the “peak” in the room. From this point, measure up 34.5 inches—this is the standard height for base cabinets. Draw a level horizontal line across the entire wall at this mark. This is your “benchmark.” If the floor drops away from that high point, you will use shims to bring the cabinets up to this line, never cutting the cabinets down to meet a low spot.
Next, mark a second line at 54 inches from the high point. This represents the bottom of your upper cabinets. This 19.5-inch gap (34.5″ base + 1.5″ countertop + 18″ backsplash) is the industry standard for a functional workspace.
Finally, locate your wall studs. Use a high-quality stud finder and mark the center of each stud with a vertical “plumb” line that extends above and below your cabinet marks. Knowing exactly where your structural support lies is a critical part of proper cabinet installation. If you miss a stud, your cabinets—and everything inside them—could eventually come crashing down.
Measuring for Success
Precision is your best friend. We recommend using a 6-foot level or a laser level to ensure your lines are perfectly horizontal. A simple tape measure is essential, but a layout drawing on the wall itself helps visualize the “cabinet run.” According to experts at Bob Vila, taking the time to map out every appliance and filler strip on the wall prevents “trapped” cabinets or doors that won’t open because they hit a door casing.
Professional Tools and Premium Cabinet Brands
To achieve a professional finish, you need more than just a hammer and a screwdriver. The best way to install cabinets involves specialized gear designed for accuracy and safety.
| Feature | Framed Cabinets | Frameless (European) Cabinets |
|---|---|---|
| Installation Method | Screws through face frames | Screws through side panels |
| Shimming | More forgiving; frames hide gaps | Requires extreme precision |
| Hardware | Visible or concealed hinges | Always concealed hinges |
| Durability | High structural rigidity | Modern aesthetic, requires level boxes |
Essential tools include:
- Cabinet Jacks or Wood Cleats: To hold heavy uppers in place.
- Ledger Boards: A temporary 1×4 screwed into the wall to support the weight of upper cabinets.
- Impact Driver and Countersink Bits: To prevent splitting the wood.
- Face Frame Clamps: These pull two cabinets together so tightly the joint becomes nearly invisible.
- Wood Shims: Cedar or plastic shims to bridge gaps between the cabinet and uneven walls.
At Trussell’s Transformations, we believe the quality of the installation is only as good as the product itself. That is why our Albuquerque showroom features premium brands like Durasupreme Cabinetry, Waypoint Living Spaces, Sollid Cabinetry, and Kitchen Cabinet Distributors. These brands offer superior construction, including soft-close hinges and dovetail drawers, which make the installation process smoother and the end result more durable. If you are debating the DIY route, consider our guide on whether you can install cabinets yourself to see if you have the necessary toolkit.
Step-by-Step Guide to Upper and Base Installation
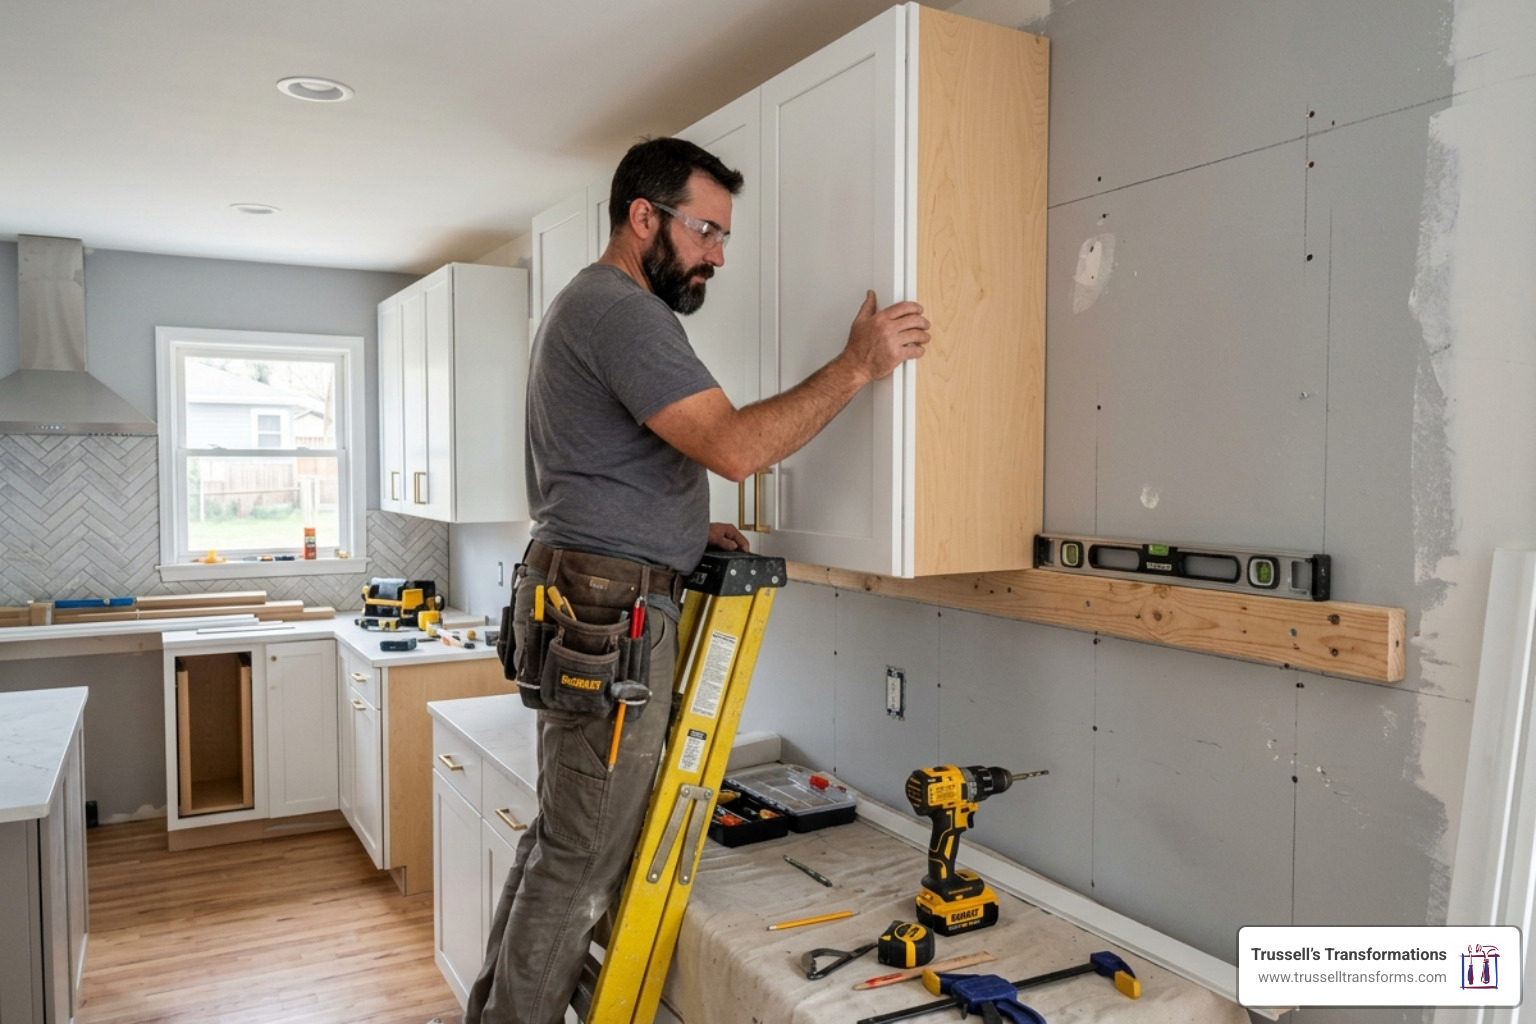
The golden rule of kitchen remodeling is: Install upper cabinets first. If you install the base cabinets first, you’ll be leaning over them all day, straining your back and risking damage to your new units.
The Best Way to Install Cabinets in the Upper Run
- Screw in the Ledger: Attach a straight 1×4 board to the wall, aligned with your 54-inch mark. Ensure it is screwed into the studs.
- Start in the Corner: The corner cabinet is your anchor. Rest it on the ledger and secure it to the wall studs using 2.5-inch or 3-inch cabinet screws. Do not tighten them fully yet.
- Connect the Run: Lift the next cabinet into place. Use face frame clamps to align it perfectly with the first cabinet.
- Drill and Join: Drill pilot holes through the face frames and join the cabinets together with 1.25-inch screws. This makes the entire run act as one solid unit.
- Check for Plumb: Use your level on the front and sides. If the wall is bowed, place shims behind the cabinet where it meets the stud before final tightening.
As noted by This Old House, removing the doors and drawers before you start makes the boxes significantly lighter and protects the finish from accidental scratches.
Securing the Base Cabinets
Once the uppers are set and the ledger board is removed, move to the base units.
- Leveling: Place the first cabinet at the highest point of the floor.
- Shimming: As you move down the run, use shims under the base or behind the back to keep the top edge perfectly aligned with your 34.5-inch benchmark.
- Plumbing and Electric: Use a jigsaw to cut precise openings for sink plumbing or electrical outlets. Measure thrice, cut once!
- Anchoring: Screw through the back “nailing strip” into the wall studs. Ensure the cabinet is level front-to-back and side-to-side.
For many homeowners, this is the point where the complexity becomes overwhelming. This is why professional installation is the leading choice in Albuquerque, as our teams handle these micro-adjustments daily.
Why Quality and Accountability Matter in Cabinet Installation
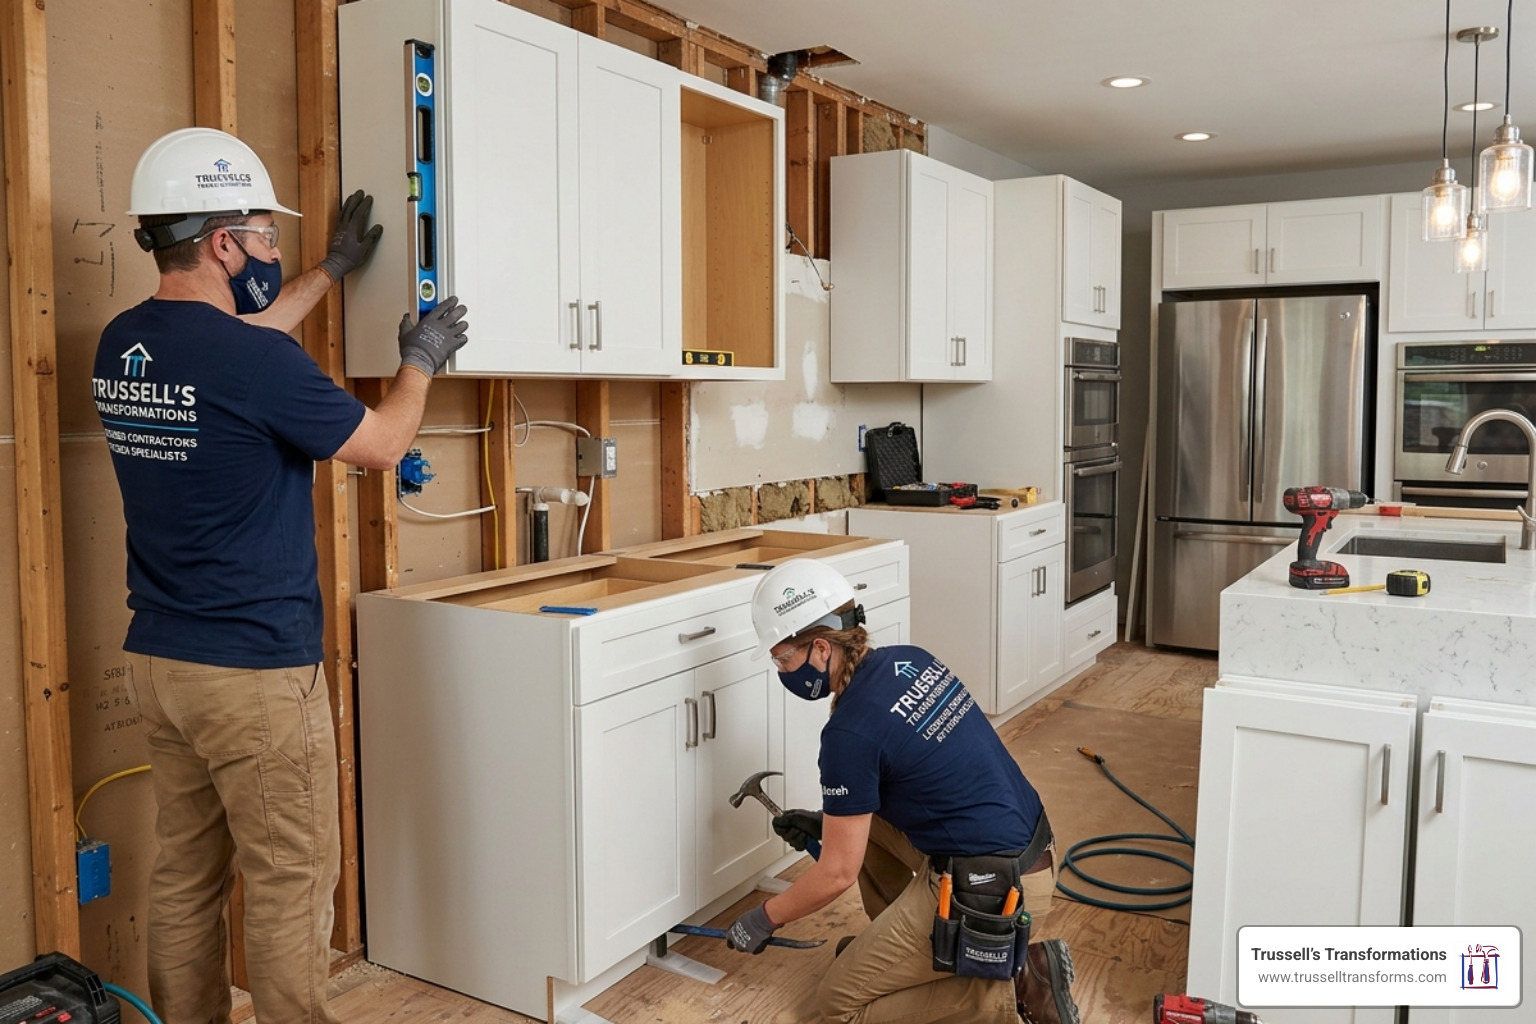
While the DIY spirit is strong in New Mexico, cabinet installation is a high-stakes task. A single mistake in leveling can lead to cracked granite countertops later on, as the weight of the stone won’t be evenly distributed.
Hiring a licensed contractor like Trussell’s Transformations offers several layers of protection:
- Accountability: We are a one-stop shop. If there is an issue with the cabinet or the install, you have one phone call to make.
- Warranty Protection: Many premium brands like Durasupreme require professional installation to maintain their full warranty.
- Structural Safety: We ensure that heavy wall cabinets are anchored with the correct fastener load-bearing capacity.
- Precision: Our 25+ years of experience mean we know how to handle the unique challenges of Albuquerque homes, from adobe walls to shifting foundations.
Visit our showroom at 8023 Edith Blvd NE to see our full range of cabinet services and speak with experts who prioritize craftsmanship over speed.
Finishing Touches and Countertop Integration
The “bones” are in, but the details make the kitchen. Once the boxes are secure, it’s time for the finishing touches.
- Filler Strips: Walls are rarely perfectly straight. Filler strips are used to bridge the gap between the last cabinet and the wall. Use a compass to “scribe” the shape of the wall onto the wood for a seamless fit.
- Toe Kicks: These cover the unfinished bottom of the base cabinets. They provide a clean, continuous look and protect the cabinet structure from floor moisture.
- Crown Molding: This adds a touch of luxury to the top of upper cabinets, hiding any gaps between the cabinet and the ceiling.
- Door Adjustments: Use the adjustment screws on the hinges to ensure all doors are level and have even “reveals” (the space between doors).
Countertop Integration
The best way to install cabinets is with the final countertop in mind. Whether you choose Caesarstone, Cambria, Silestone, or a selection from The Stone Collection, the surface must sit on a perfectly flat plane. We specialize in coordinating your cabinet install with your countertop template to ensure a flawless transition. Don’t forget to consider built-in accessories for kitchen corners during this phase to maximize every inch of storage.
What is the Best Way to Install Cabinets on Uneven Floors?
The secret is the “benchmark” method. Never try to follow the floor. Instead, find the highest point, mark your level line, and shim up. If the gap at the bottom is large, the toe kick will hide it. If the floor is extremely slanted, you may need to scribe the base of the cabinet, but shimming is the standard professional approach.
Frequently Asked Questions about Cabinet Installation
Should you install upper or base cabinets first?
Always install the upper cabinets first. This allows you to stand directly against the wall and use cabinet jacks or ledger boards without the base cabinets getting in your way. It is safer for your back and protects the base cabinets from dropped tools.
How long does a typical cabinet installation take?
For a professional team, a standard kitchen takes 1 to 2 days. For a DIYer, expect it to take 6 to 12 hours of active labor, plus time for RTA (Ready-to-Assemble) cabinet construction, which takes about 20 minutes per unit after the first one.
Do I need to remove doors and drawers before installation?
Yes. It reduces the weight of the cabinet by about 20-30%, makes it easier to clamp the frames together, and prevents the doors from swinging open and hitting you while you’re on a ladder.
Conclusion
Mastering the best way to install cabinets requires a blend of patience, the right tools, and high-quality materials. From the initial 34.5-inch benchmark to the final adjustment of a soft-close hinge, every step is vital to the longevity of your kitchen.
At Trussell’s Transformations, we’ve spent over 25 years perfecting this process for homeowners in Albuquerque, Rio Rancho, and Bernalillo County. Whether you want to buy premium cabinets for a DIY project or need our licensed contractors to handle the entire remodel from flooring to roofing, we are here to help. With 0% financing available and a showroom full of inspiration, there’s never been a better time to upgrade.
Ready to see the difference professional craftsmanship makes? Start your kitchen transformation today and let us help you build the kitchen of your dreams.
Recent Comments